my.kepalabergetar9.com
Are you tired of constantly monitoring your data usage on your Android device? Data Saver Mode may be a helpful feature, but there are times when you might want to turn it off to enjoy full-speed internet access. In this guide, we’ll walk you through the simple steps to disable Data Saver Mode and explore other ways to manage your data effectively. Let’s dive in!
What is Android Data Saver Mode?
Android Data Saver Mode is a built-in feature designed to help users conserve data by restricting background app activities and reducing overall data usage. When enabled, it limits the amount of data that apps can use in the background, effectively minimizing unnecessary consumption. This can be particularly useful for individuals on limited data plans or those looking to manage their data usage more efficiently.
By compressing web pages before loading them and preventing apps from sending or receiving data when not actively in use, Data Saver Mode ensures that your mobile data is utilized judiciously. It gives you greater control over which apps have unrestricted access to consume your precious megabytes, ultimately allowing you to stretch your monthly allocation further.
In essence, Android Data Saver Mode acts as a handy tool for keeping tabs on your mobile data consumption without sacrificing connectivity or functionality.
Why Would You Want to Turn Off Data Saver Mode?
Are you tired of slow-loading websites and images on your Android device? Data Saver Mode, designed to reduce data usage by preventing background apps from using mobile data, might be the culprit. While it can be beneficial for those with limited data plans or in areas with poor network coverage, it can also hinder your browsing experience.
Turning off Data Saver Mode can help you enjoy faster internet speeds and high-quality content without restrictions. By disabling this feature, you regain control over which apps have access to mobile data, ensuring a seamless online experience.
Whether you’re streaming videos, downloading files, or simply browsing social media, deactivating Data Saver Mode allows you to fully utilize your device’s capabilities without compromising speed or quality. So if you crave a smoother and more responsive online experience on your Android smartphone or tablet, consider turning off Data Saver Mode today.
Step-by-Step Guide on Turning off Data Saver Mode
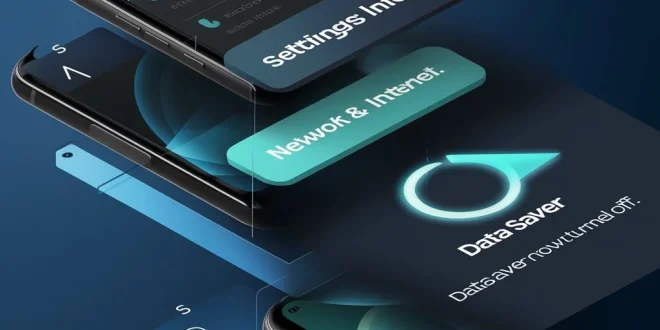
To turn off Data Saver Mode on your Android device, start by opening the Settings app. Scroll down and look for the “Network & Internet” or similar option. Tap on it to access the network settings menu. Here, you will find the Data Saver option.
Click on Data Saver to enter its settings. You should see a toggle switch that is turned on if Data Saver is currently active. Simply switch it off by tapping on the toggle button once. It should change from green (on) to grey (off).
Once you have disabled Data Saver Mode, you can exit the settings menu and resume using your data as usual without any restrictions imposed by this feature. Remember that turning off Data Saver may result in higher data usage, so keep an eye on your data consumption to avoid exceeding your plan limits.
Enjoy browsing and streaming without any limitations now that you have successfully turned off Data Saver Mode!
Other Ways to Reduce Data Usage on Your Android Device
Looking to further cut down on your data usage beyond just turning off Data Saver mode? There are a few more tricks up your sleeve!
Consider disabling auto-play videos and images on social media apps. These can quickly eat up your data without you even realizing it. Next, restrict background data usage for specific apps in your settings. This ensures that only the essential applications have access to mobile data when running in the background.
Another helpful tip is to download music, podcasts, or movies while connected to Wi-Fi instead of streaming them. By downloading content beforehand, you can enjoy it later without consuming additional data each time you want to listen or watch.
Regularly monitor your data usage through your phone’s settings or using third-party apps. Keeping an eye on how much data you’ve used can help you adjust your habits and avoid any unexpected overages at the end of the month.
Tips for Managing Your Data Plan
If you find yourself constantly exceeding your data limit, don’t worry – there are ways to manage your data plan more effectively. One tip is to regularly check your data usage in the settings of your device. This way, you can stay aware of how much data you’re consuming and adjust accordingly.
Another helpful strategy is to connect to Wi-Fi whenever possible. By using Wi-Fi instead of mobile data for activities like streaming or downloading large files, you can significantly reduce your data usage.
Consider disabling automatic app updates and background app refresh on your phone. These features consume data without you even realizing it. Instead, update apps manually when connected to Wi-Fi to save on data.
Explore the option of setting limits or warnings for certain apps that tend to use a lot of data. This way, you can control their consumption and avoid any surprises on your bill at the end of the month.
Conclusion
Managing your data usage on your Android device is essential for staying within your plan limits and avoiding overage charges. Turning off Data Saver mode can give you more control over which apps use data in the background, ensuring that you have a smooth browsing experience without sacrificing your data allowance.
By following the step-by-step guide provided in this article, you can easily disable Data Saver mode on your Android device. Additionally, exploring other ways to reduce data usage, such as limiting background app refresh and using Wi-Fi whenever possible, will help you optimize your data consumption.
Remember to keep an eye on your data usage regularly through built-in tools or third-party apps to monitor and manage your consumption effectively. With these tips and tricks, you can make the most out of your Android device while staying connected without breaking the bank.